Recording is the recommended method to create Workflows inside OpenRPA. Instead of endlessly dragging activities into the Designer, it is preferable that the user records the steps by using the Recorder.
Using the Recorder
Using the Recorder is very easy, all the user has to do is click the Recorder button and perform the task that will be automated. If, during the recording, the user needs to fill an input field with specific variable content, they may use a dummy text and, after closing the Recorder, change these dummy texts to variables using the Assign activity.
Selectors and the Recorder
Selectors go hand in hand with the Recorder. The Recorder essentially builds a Selector for the user, based on what is clicked. A Selector is a set of criteria that enables OpenRPA to find an element unambiguously.
While users are free to create Selectors from scratch, it is NOT recommended due to the higher complexity and increased risk of errors and typos.

A detailed example of automating using the Recorder can be found in the Windows Automation section.
Recorder Configuration
OpenRPA allows for some configuration related to the Recorder, such as highlighting elements during recording or changing how the Recorder adds activities to the Designer. For more details, see Parameters, specifically recording_add_to_designer and record_overlay.
Difference Between Technologies in OpenRPA (NM, SAP, Windows, etc.)
When clicking any element during a recording, the Recorder initially assumes it is a Windows UI element. It then processes some logic to determine if a better technology fits the user’s action. If a more suitable technology is found, the Recorder will automatically switch from “Windows” to the most appropriate technology and suggest an Activity that better handles the automation task. This could involve actions like clicking a WebElement, filling an input field in SAP, or writing data to an Excel sheet. If no better technology is identified, the Recorder will build a Selector for a Windows UI Element.
In essence, when using the Recorder to click an Excel cell, for example, it first assumes it’s a Windows UI element. However, it soon recognizes it as an Excel element and automatically replaces the Activity from Windows.GetElement to Office.Activities.WriteCell.
Many technologies are already implemented, such as SAP, IE, Java, Image, and NM (NativeMessaging: Chrome, Firefox, Edge), with more to come!
Selector window
See below video For troubleshooting tips.

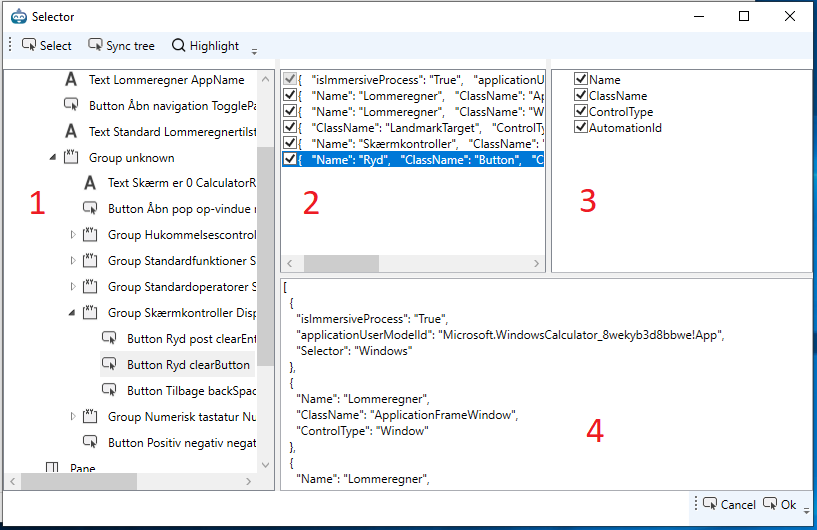
The window consists of 4 areas. Number 1 on the left represent what is visible right now, 2,3 and 4 is for manipulating the selector, and does not need to be visible
1) Is the UI tree representing what is visible right now
2) Is each element selector in the selector
3) represent each element property selector in the selected selector item
4) is a JSON representation of the current selector
You are free to change the selector in both window 2, 3 and 4 and all changes should be reflect in all 3 windows simultaneously.
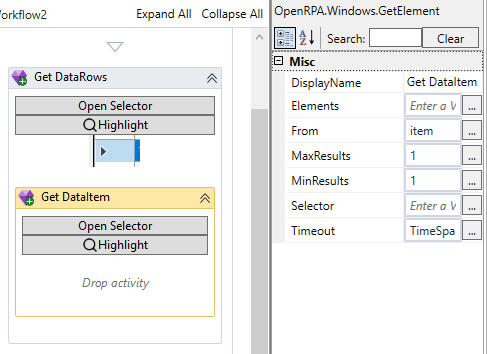
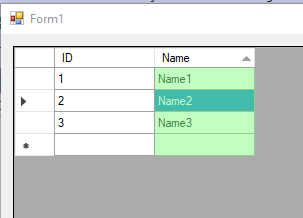
When a selector is created it will try and “guess” what is the minimum required properties to find the object ( minimize the amount of properties needed) you can broaden the “hit rate” by adding more selectors and/or implement pattern matching in the selector. Per default a selector will do an exact match per property, but by using ? and * characters you can broaden your hits, for instance if you selected a DataRow.

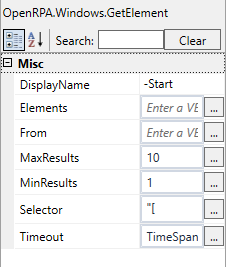
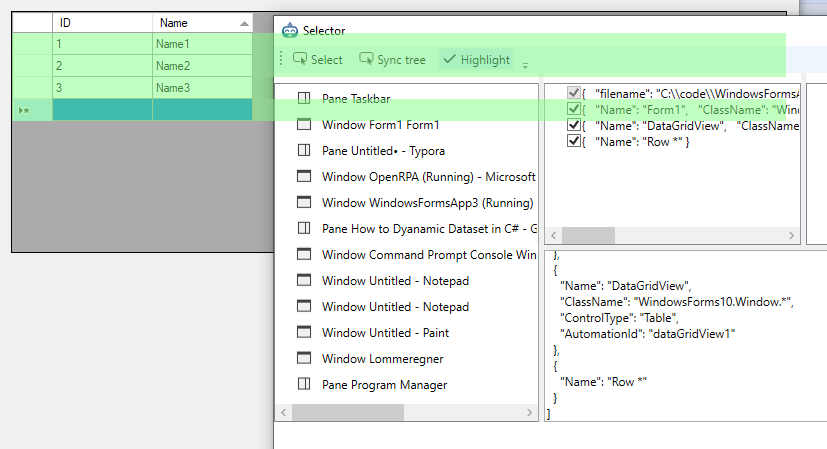
First ensure you enable selector more than 1 row by increasing MaxResults
You could change the selector to allow any name starting with Row but replacing 0 with a start *
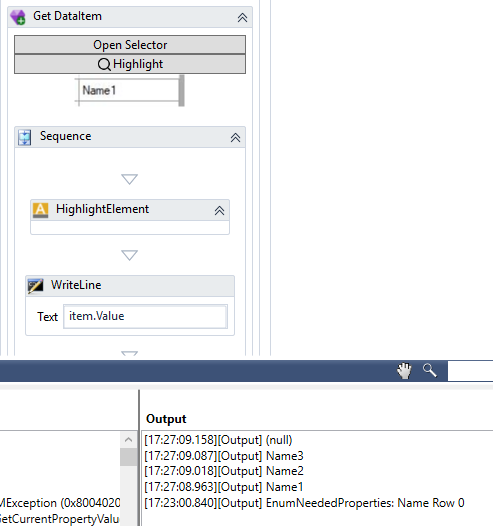
Now you can start “picking out” fields in the datarow, using a nested GetElement and setting From to Item
Now open the Selector for the nested item, you will see the UI tree is restricted to the anchor, if multiple hits exists, it will show the first found item. We want to create a selector that finds a child element, that should work on all hits from the parent, so we need to strip out any identifiers that would be different.
Lets get Name, right click “DataItem Name Row 0” and choose Select Element.
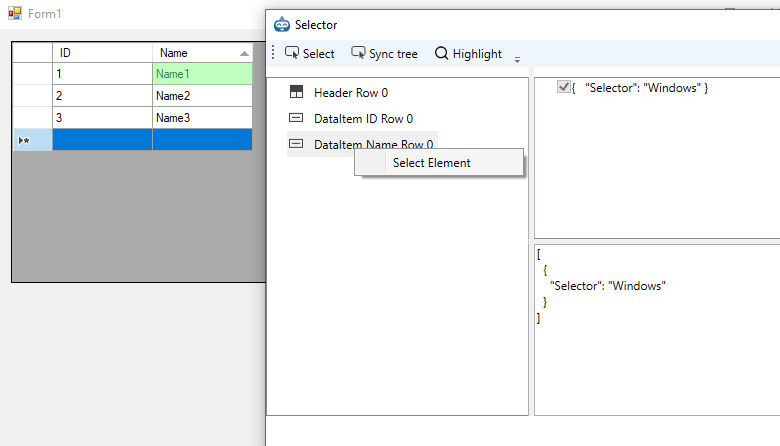
Then replace zero with a star * in the selector
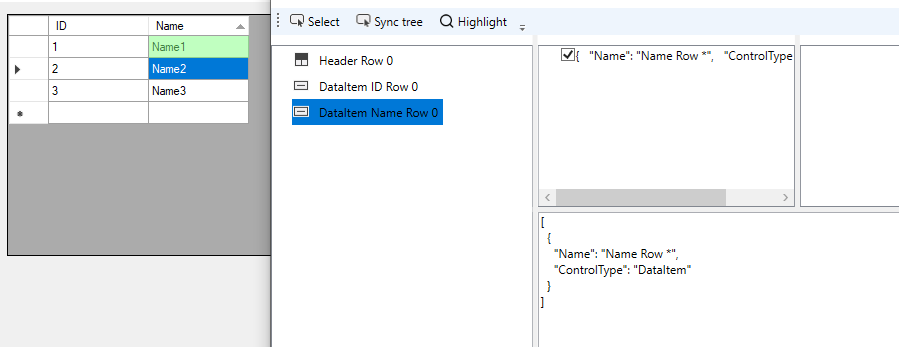
To test the result, add a highlight activity in the nested GetElement and press Play
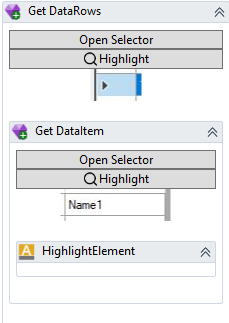
Now, lets get the value, also, add a WriteLine under Highlight and set Text to item.Value